Clean Texture Architectural Glass
Many other patterns are available at special order

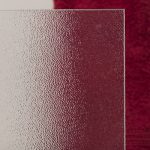
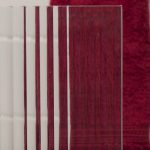
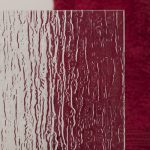


Many other patterns are available at special order

Detailed Instructions on Installing Cabinet and Door Glass Inserts
There are several methods for installing your Glass One Cabinet Glass.
The three most commonly used are:
| Difficulty: | Easy |
| Tools & Materials: | Drill, screwdriver and retainer clips. |
| Benefits: | A quick and easy method of installation that can be easily performed by a DIY beginner. |
| Concerns: | Retainer clips do not prevent rattling as effectively as caulking. |
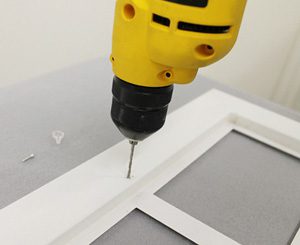
Pre-drilling holes for the cabinet clips screws
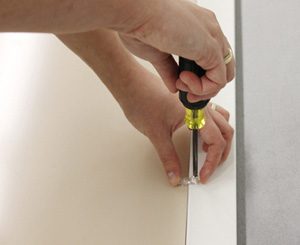
Inserting the retainer clips
| Difficulty: | Moderate |
| Tools & Materials: | Glazing points and point driving tool, glazing compound or putty, putty knife |
| Benefits: | Small glazing points are nearly invisible and unobtrusive. This installation method is also applicable for windows, partitions, and doors. For added support, glazing points can also be used in conjunction with silicone caulking as described in Option Three. |
| Concerns: | Putty requires time to dry; please refer to the putty manufacturer’s directions for application information and to determine when it is safe to reinstall your cabinet doors. |
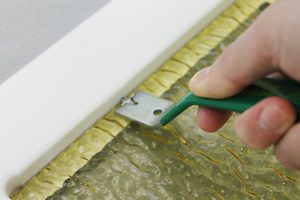
Inserting the glazing points
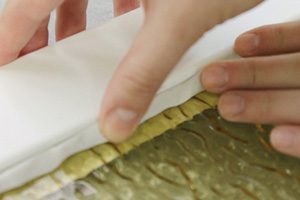
Pressing the glazing putty into place
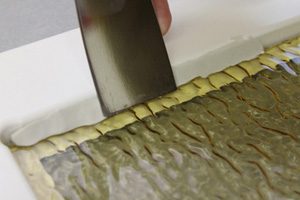
Smoothing the glazing putty
| Difficulty: | Moderate |
| Tools & Materials: | Silicone caulking, caulking gun, painter’s type masking tape |
| Benefits: | Clear silicone caulking is aesthetically pleasing and unobtrusive. It holds the glass securely in place, and prevents rattling. |
| Concerns: | This method is recommended for DIYers with experience using caulking guns. It requires attention and some skill to prevent the silicone from spreading onto the glass surfaces or the frame. Silicone is very difficult to remove from etched glass surfaces and will permanently stain etched surfaces on contact. Please use extreme caution with etched, etched pattern, and crackle glass. These glasses must be pre-masked with painters-type tape. |
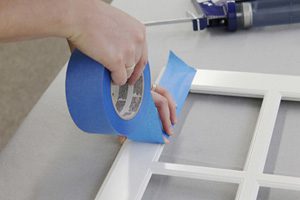
Masking visible portions of the front of the door and glass insert
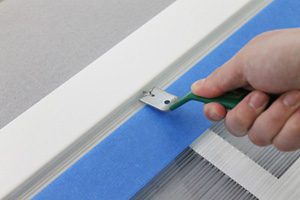
Pressing the glazing points into the frame
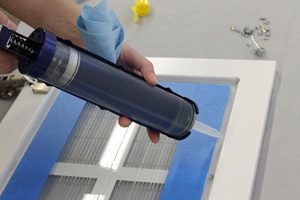
Applying a continuous silicone bead
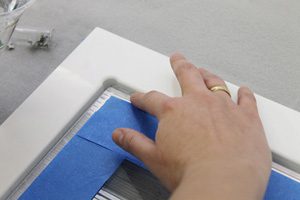
Smoothing the silicone with a finger dipped in water